Guys, I’m SOOOOO excited about this post! As promised last week, I’ve got 2 insanely easy, super simple DIY all-natural lotion bar and lip balm recipes to share with you today. I’m completely obsessed with them right now and if you give them a shot, I think you will be too.

While these probably wouldn’t taste as good as the food recipes you’re used to seeing here on the blog, one of the many reasons they’re awesome is because they contain only REAL, simple and safe ingredients. No chemicals, nothing unnatural, and nothing to hide. We’ll get to those ingredients in a second, but first…
What’s a lotion bar?
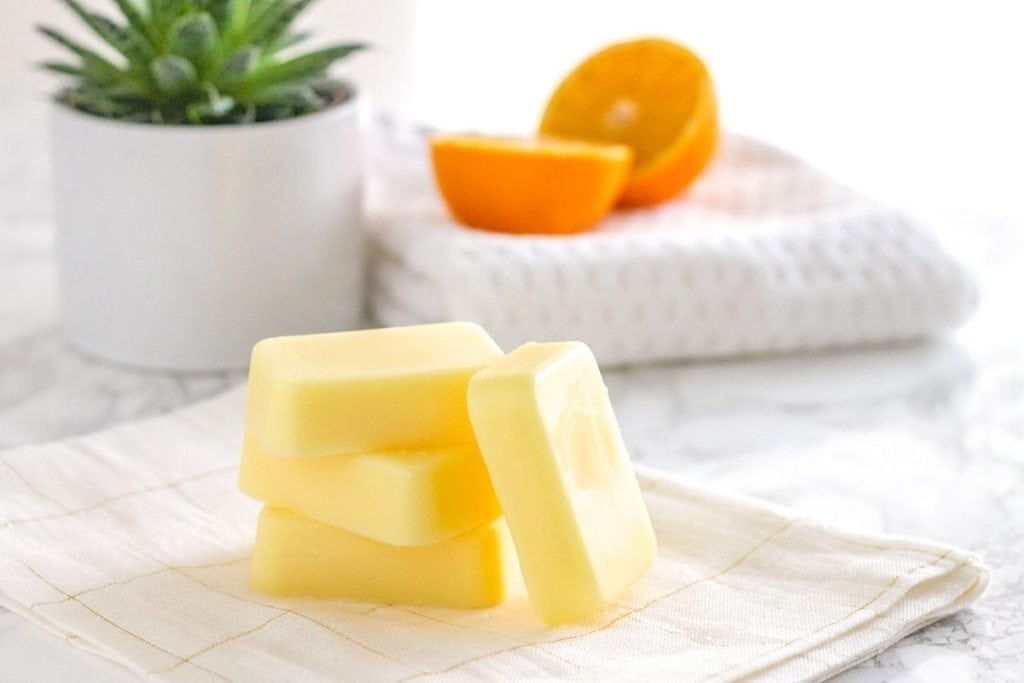
We all know what lip balm is and how to use it, but if you’ve never heard of lotion bars before, they’re exactly what they sound like – lotion in solid bar form. When rubbed on the skin, the bars melt a little bit thanks to our body heat. The result is a really lovely layer of rich moisture on your skin that lasts for hours. You don’t even have to rub it in, which means no white residue, no sticky hands, and none goes to waste.
Lotion bars are softer than soap, so I store my extra ones in the fridge or freezer and bring a new one out when needed. As for the in-use one, I keep it next to my sink and rub it on after I get out of the shower. This is one of the best ways I’ve found to keep my body moisturized (without feeling greasy) and the bars feel like heaven on freshly-shaved legs!
Why make your own natural beauty products?
We’re all well aware that there can be a ton of crap – including toxic ingredients, chemicals and preservatives – in the products we put on our skin. Studies are showing that these can mess with our bodies in all sorts of ways, especially when it comes to the endocrine system and the way our hormones work.
What can we do about it? Fortunately, there are a lot of GOOD products out there that we can buy from natural food stores, markets online etc. I’ve shared some that I personally use in the past, but another (often cheaper) alternative, is to just make your own. As a kid, I LOVED crafts and DIY projects of all kinds. (I even made my mum save empty tissue boxes and toilet paper rolls “in case I wanted to use them for a craft”.) Artsy fartsy-ness aside, I think one thing that appeals to me most about natural beauty products is that they can be customized to the individual. In my case, I love the energizing scent of citrus fruits, so that’s the direction I went with the recipes below. Whatever scents you like best, whether that’s lavender, vanilla, ginger, mint – anything really – you can tailor the recipes to meet your needs. Speaking of which, lets talk about ingredients.
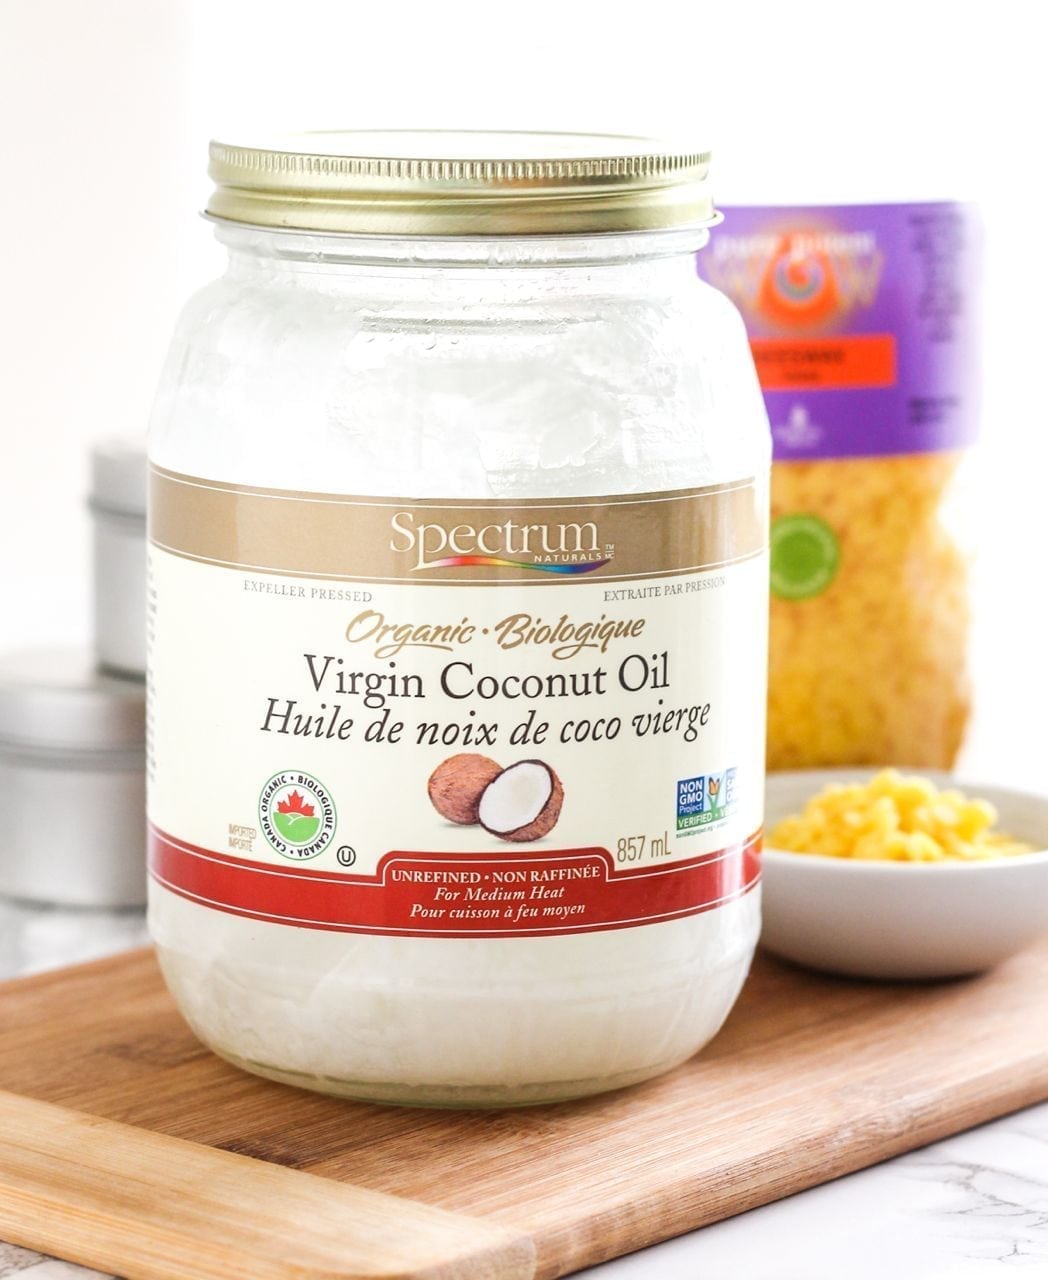
Coconut Oil
Is there anything coconut oil isn’t good for? Add this to your list of uses and get yourself a great big jar because you’re going to want lots! I was surprised to find that the finished bars and lip balms didn’t have much of a coconutty smell at all, but I think this might have to do with it being neutralized in some way by the scents of the other ingredients. (In other words, if you don’t like the smell of coconut, don’t worry – the finished goods don’t smell strongly of it.)

Shea Butter and Cocoa Butter
I’ve swapped these for each other in the same quantities and seem to get the same results, so if you can’t find them both, just one is fine. Cocoa butter has more of a chocolate smell (which can make for some delightful beauty treats that are also edible!) whereas shea butter is fairly neutral. Both are solid at room temperature, and I found that working with cocoa butter in disc form made for fast and easy melting.

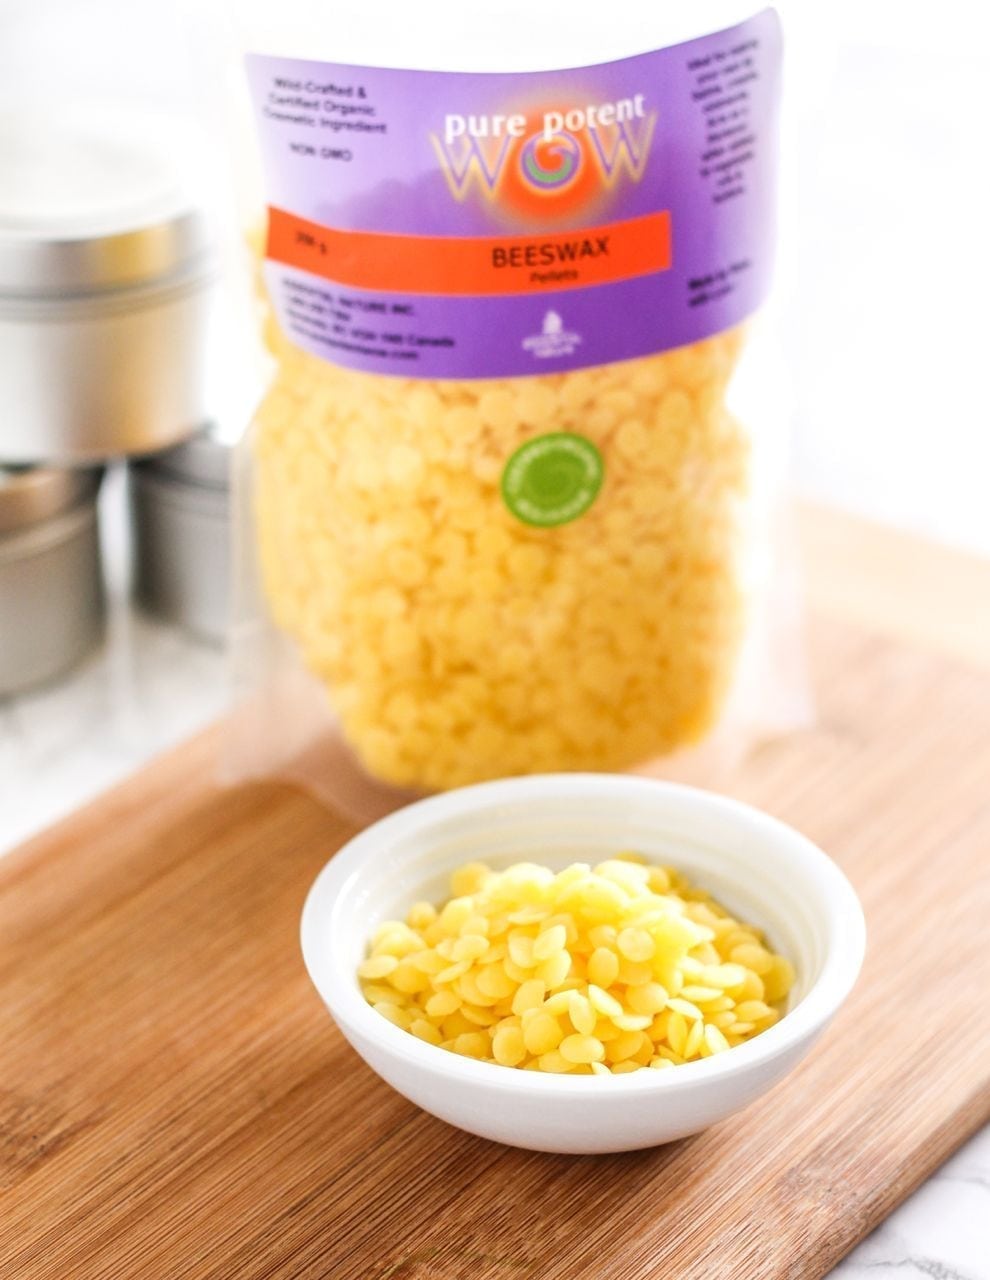
Beeswax
Since this is a bee product, these recipes aren’t technically vegan friendly. (I apologize in advance to any of my vegan friends out there. I haven’t yet had a chance to experiment with substitutes but I’m sure they exist.) However, bee products offer a TON of health benefits, both when taken internally and applied externally. In the case of beeswax, it helps to firm up the lotion bars and lip balm, keeping them in a solid state. It can be tough to work with as it’s often sold in a big block, but if you can get it sold as pellets, you’ll have a much easier time. I’d recommend looking for local beekeepers first, and if you can’t find it there, check out Whole Foods or other natural health food markets. (The kind I used is similar to these beeswax beads.)
Other ingredients
- Extra virgin olive oil
- Essential oils – pick whatever scents you like!
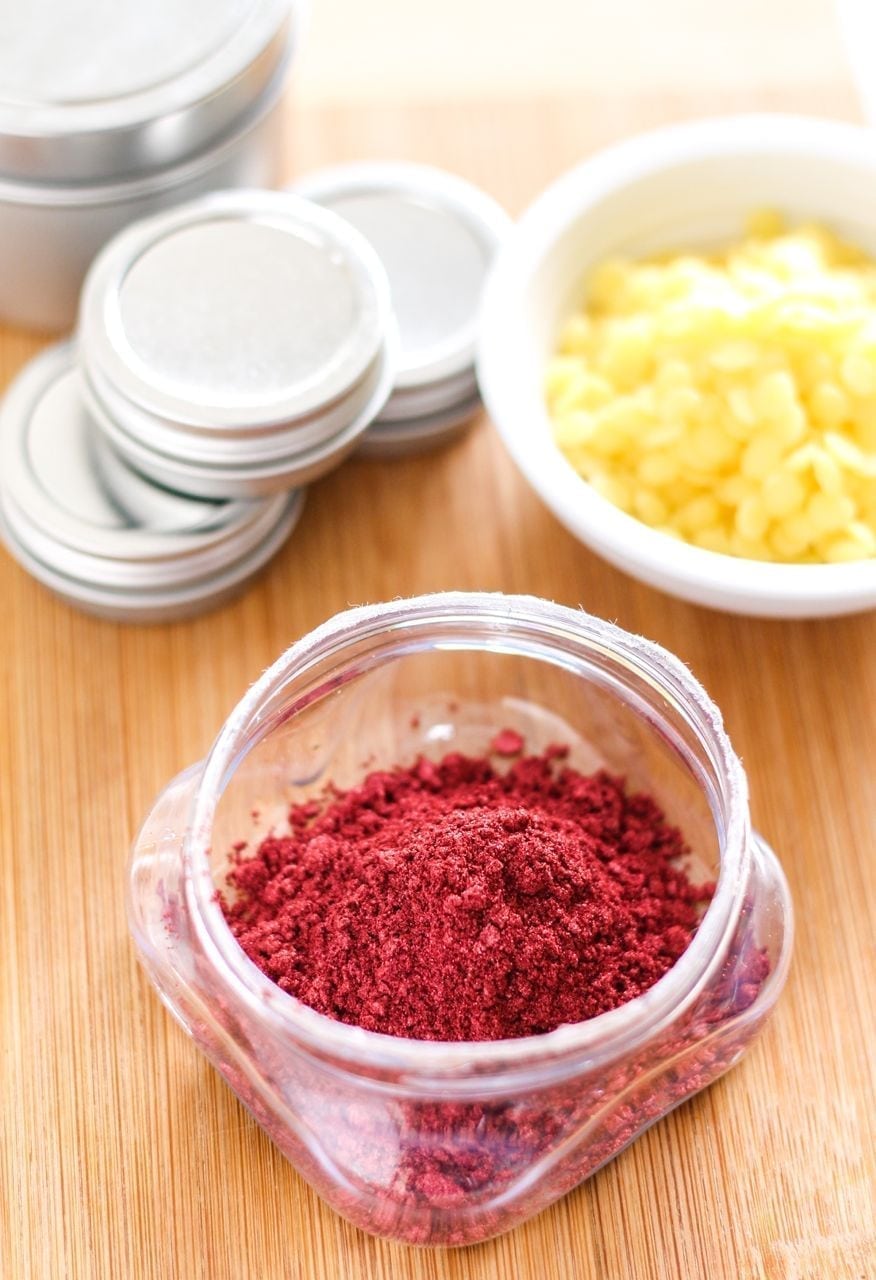
- Mica – this is what I used to add colour to the lip balm. It’s a mineral found in lots of eco-friendly organic cosmetics, and according to safecosmetics.org, is safe for consumers. If you don’t want to use this, beetroot powder and raspberry powder are 2 other alternatives, although I’ve been told they don’t have as strong a pigment and therefore won’t add as much colour. Here in Vancouver I found tons of colours at The Soap Dispensary, but there’s also a wide assortment available on Amazon.
The Setup
You don’t need fancy equipment at all for making either of these recipes. Here’s what I used:
- A large saucepan – for making a double boiler.
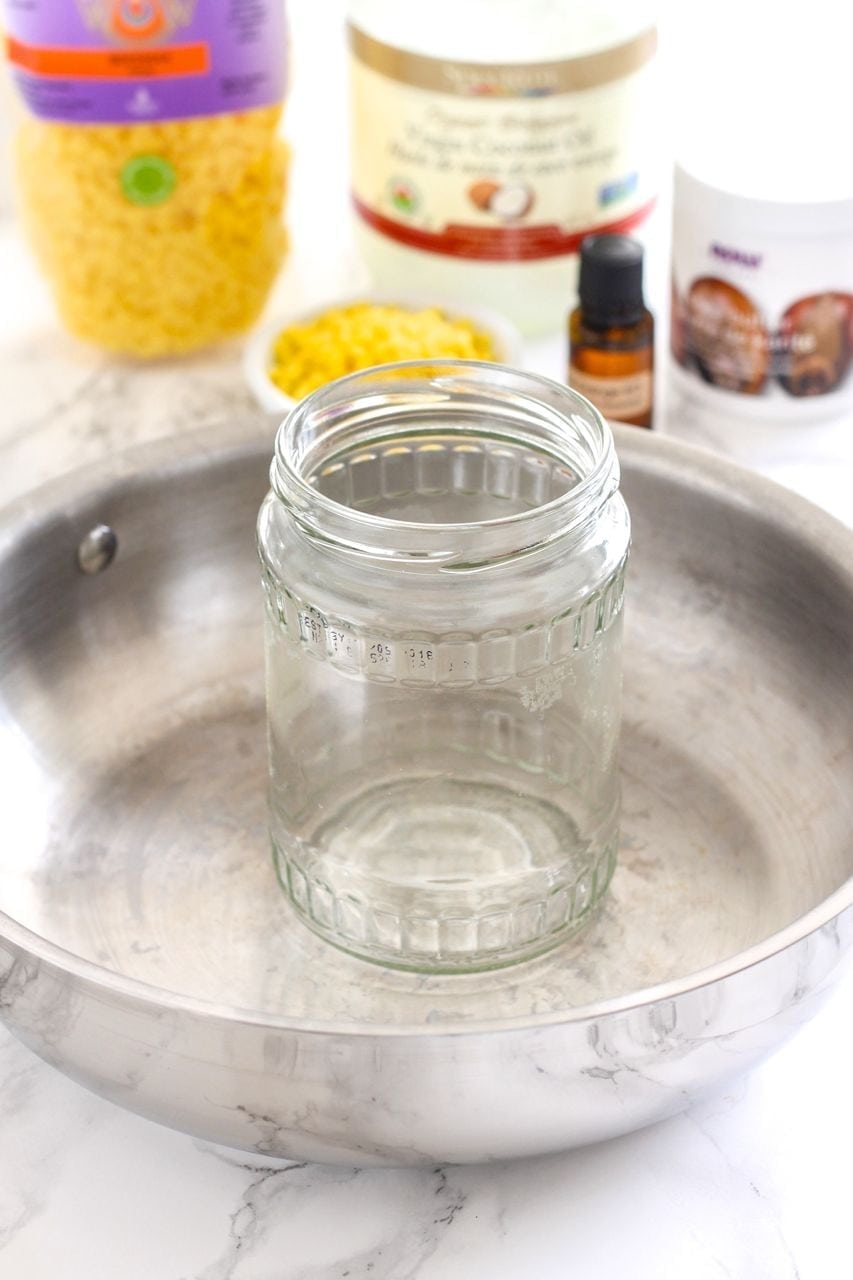
- A glass jar – this is exactly what you should do with your next empty nut butter jar!
- A chopstick – for stirring. It’ll get coated in ingredients that will solidify, and if you don’t want much clean-up, I recommend something disposable.
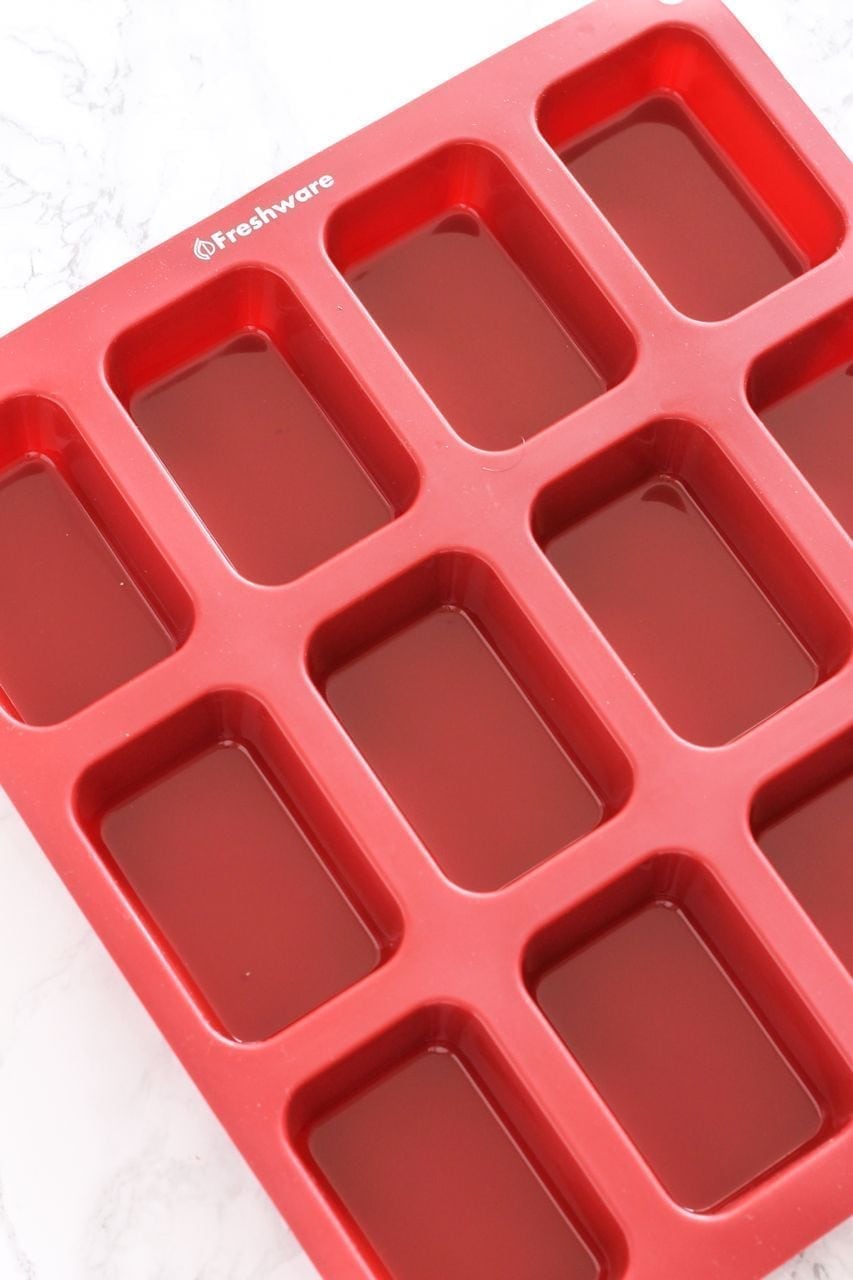
- A silicone baking mold – I used this one which I ordered on Amazon for about $10. Each insert is 2.9 x 1.9 x 1 inch and holds 3oz of liquid. You could also use a silicone ice trays.
The Process
Regardless of whether you’re making lotion bars or lip balm, the process is the same:
- Boil water in the saucepan to make a water bath/double boiler.
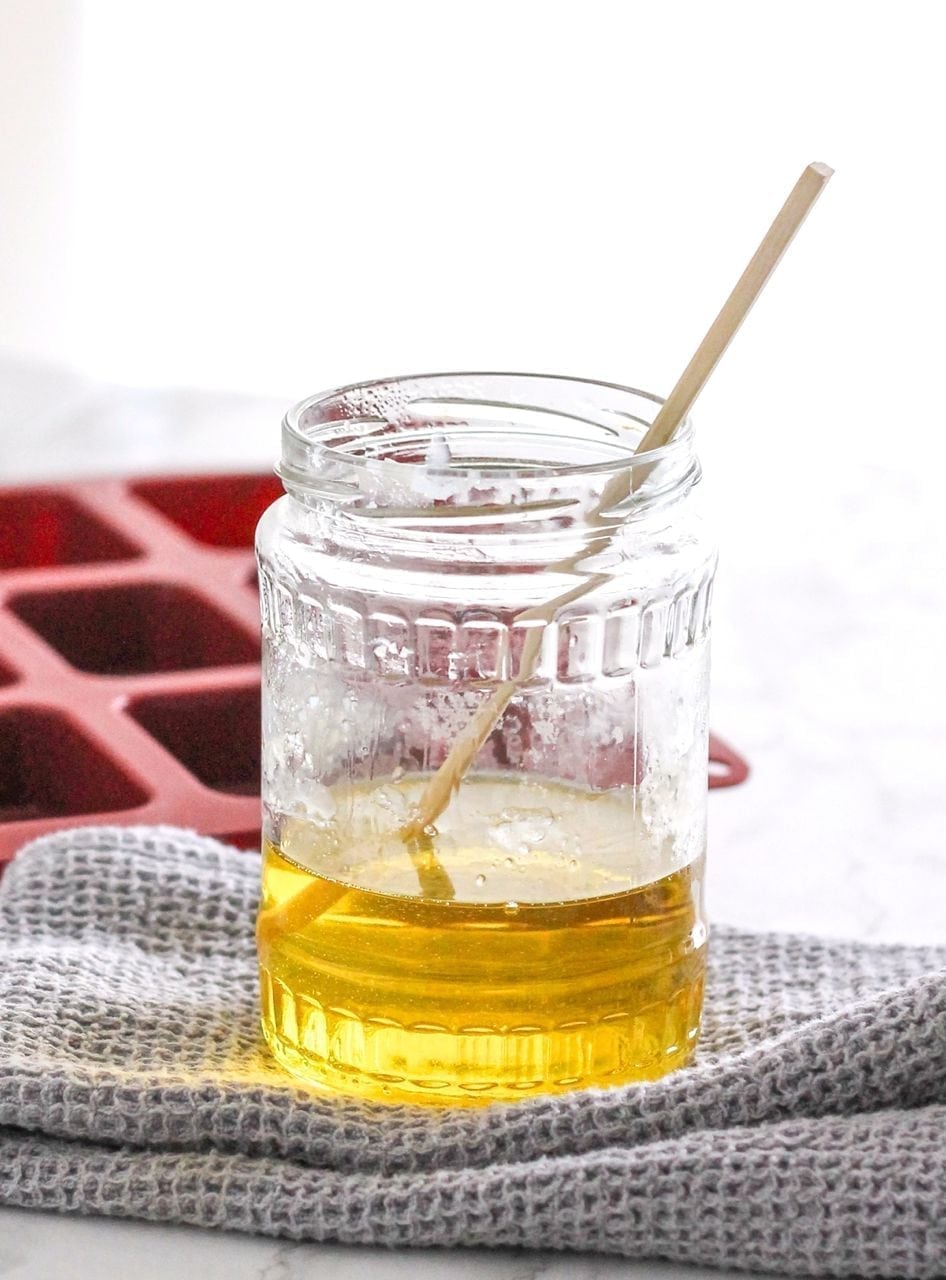
- Add all your ingredients to the glass jar (ensuring the inside is completely dry – you don’t want to get any water in there.)
- Place the jar into the saucepan.
- Use the chopstick to stir occasionally until all ingredients are melted. The beeswax will take the longest, and the mixture should be a transparent yellow colour when finished (if your beeswax is yellow).
- As soon as everything is melted, remove the jar from the heat and stir in the essential oils (or colouring, in the case of the lip balm).
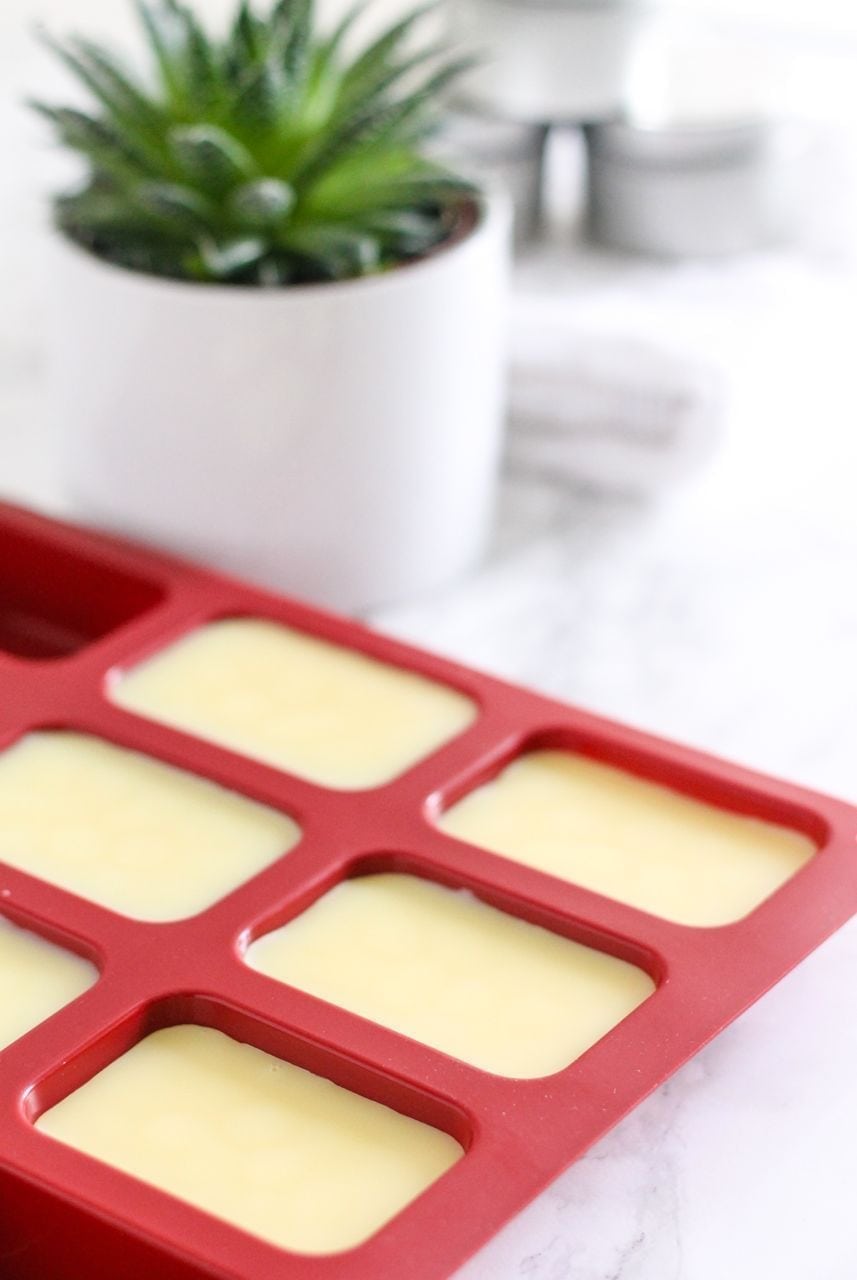
- Pour into molds and let them set.
The Recipes
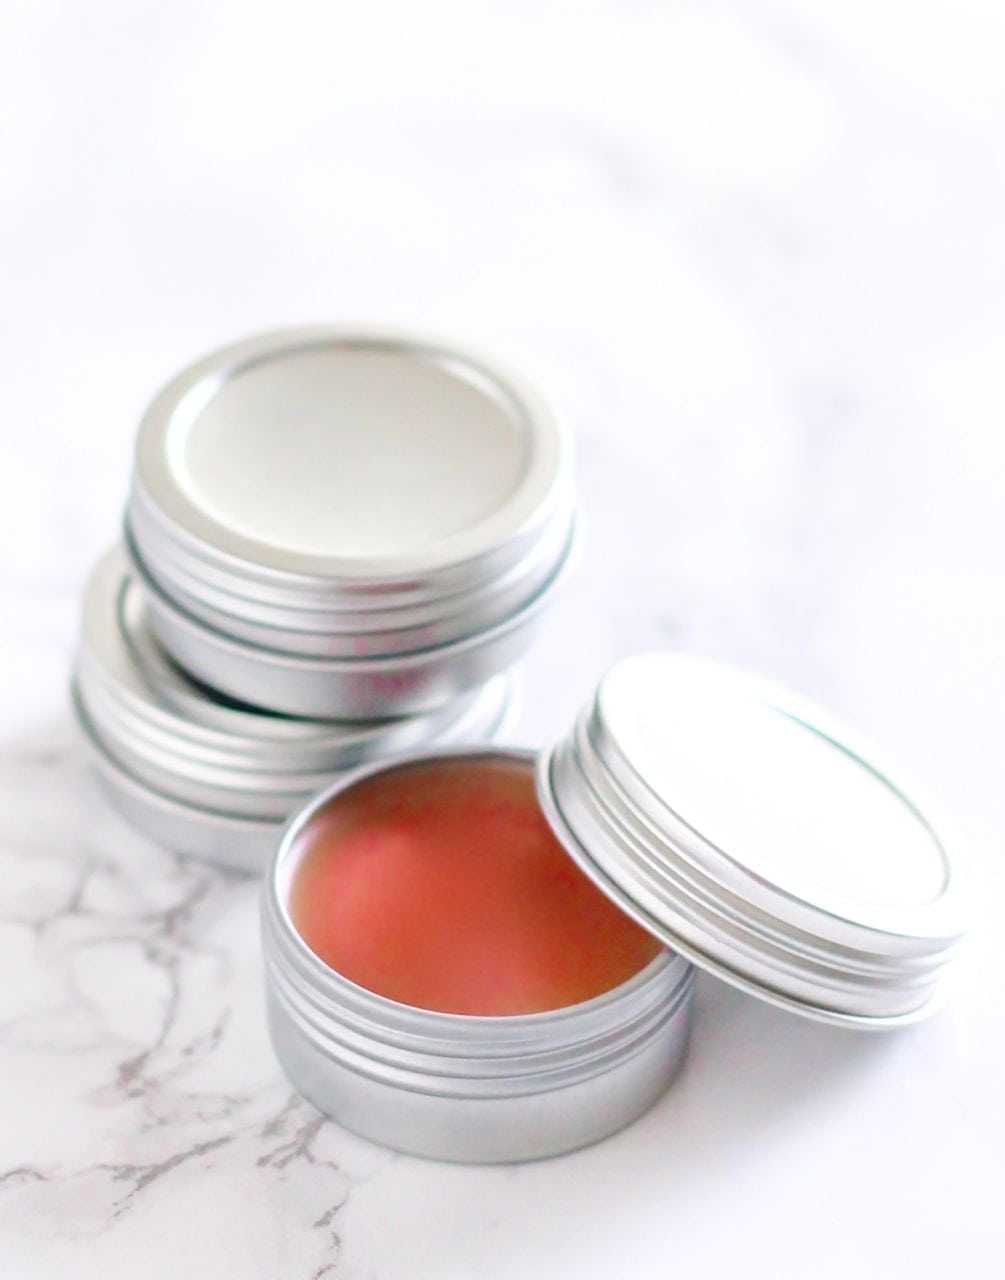
I get really excited when new recipes turn out well on the first attempt, and that’s exactly what happened with these. They were insanely easy and quick to make, and I’ve been super pleased with the results. After having used them both for 2 weeks now, I’ve decided that next time I’ll increase the quantity of essential oils so that they smell more like citrus. I’ll also add more mica to the lip balm to create a stronger pigment, because it doesn’t look as vibrant upon hardening as it does when the mixture is liquid. I’ve adjusted the recipes below to reflect both changes.
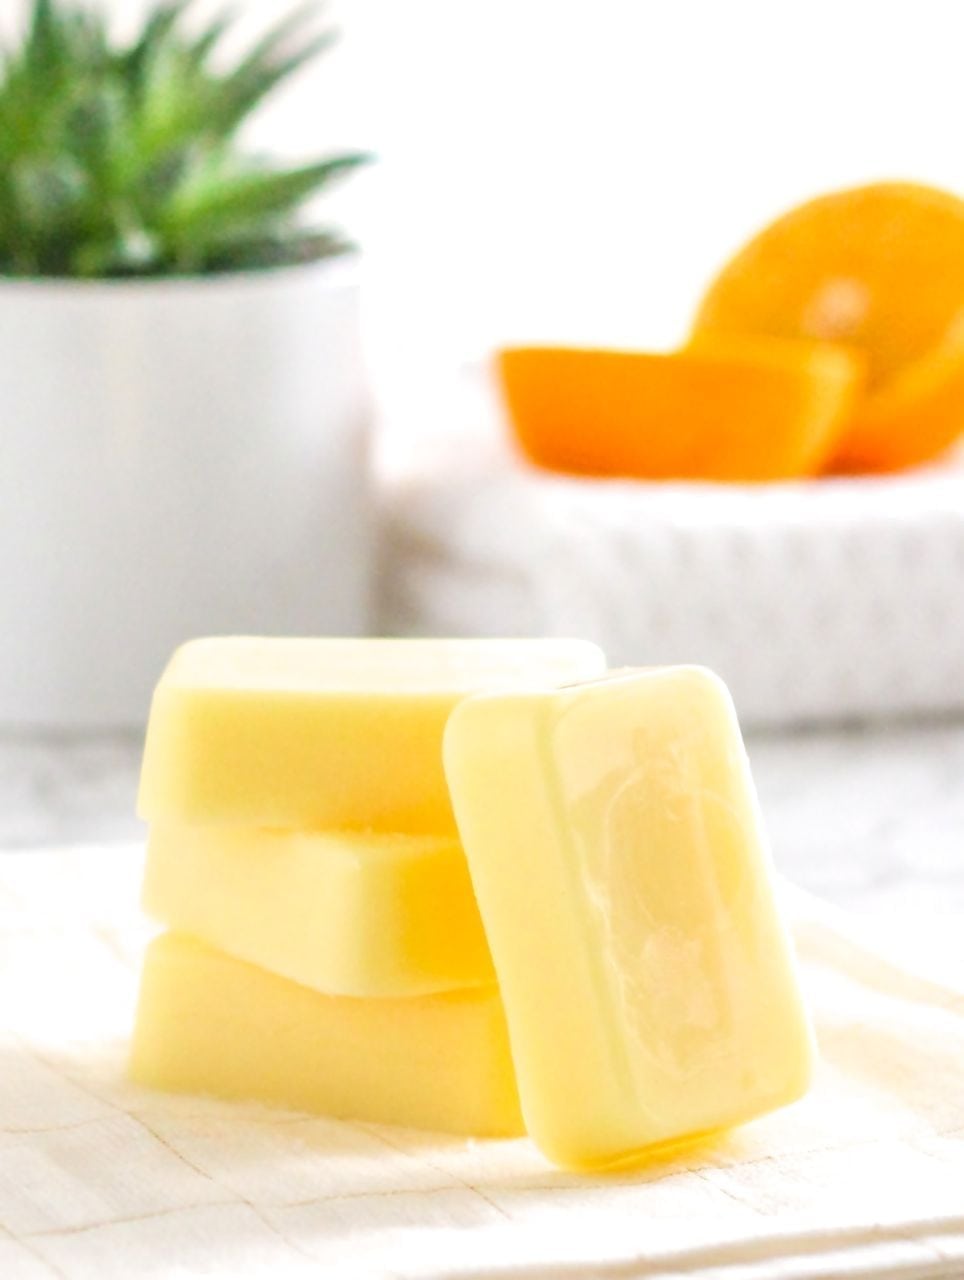
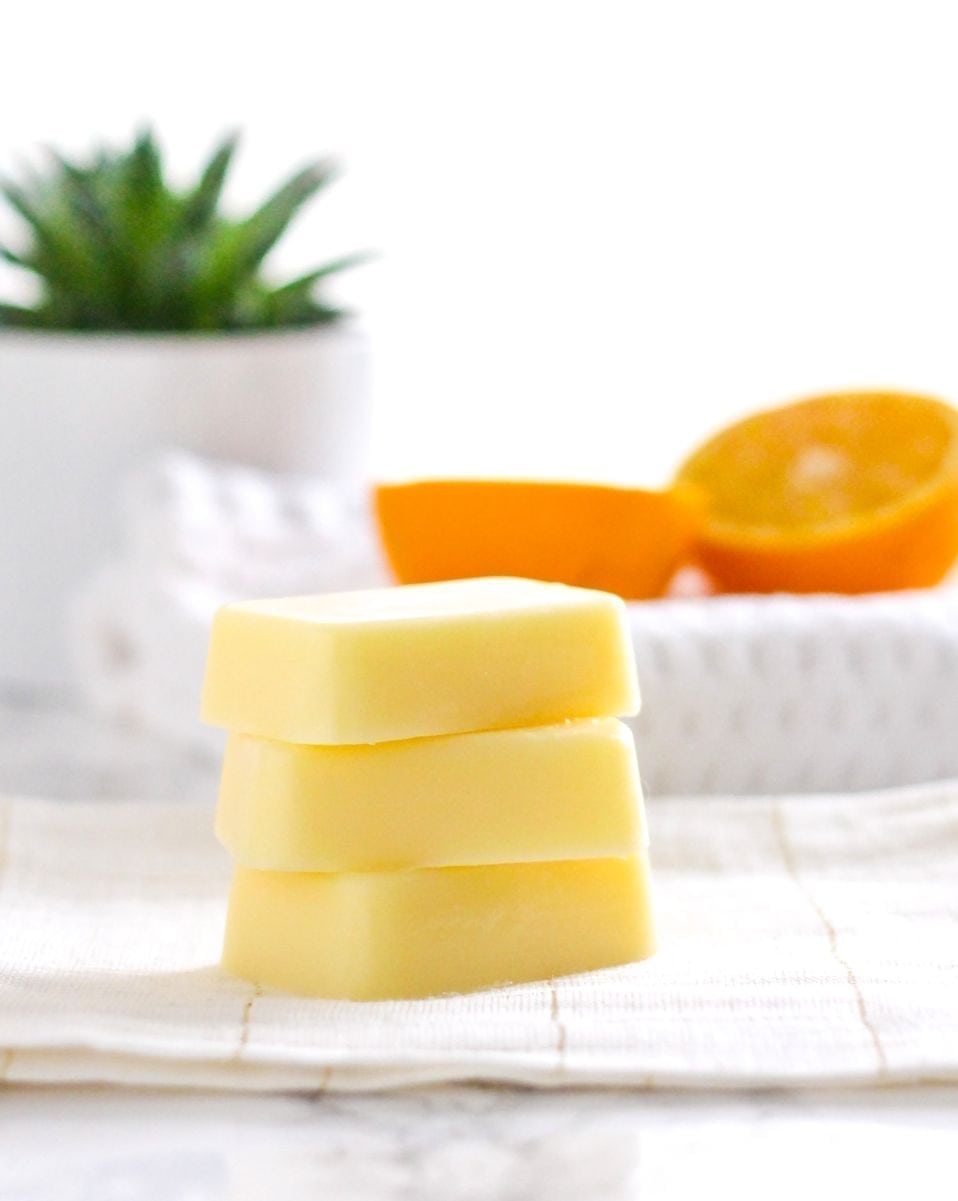
Sweet Orange Body Butter Bars
Makes 3 x 3oz rectangular bars
Ingredients
- 1/3 cup coconut oil
- 1/3 cup shea butter
- 1/3 cup beeswax pellets
- 25-30 drops sweet orange essential oil
Equipment:
- 1 silicone mold (whatever shape you like) that holds 9-10oz of liquid
- a chopstick or disposable tool to stir
- a mason jar + saucepan filled with water, or a double boiler
Instructions
- Heat water in a large saucepan until boiling. (You can use a double boiler instead if you have one.)
- Ensure the inside of the glass jar is completely dry – you don’t want to get any water in there.
- Add all ingredients to the glass jar except for the essential oil.
- Place the jar upright into the saucepan of boiling water.
- Use the chopstick to stir occasionally until all ingredients are melted. The beeswax will take the longest, and the mixture should be a transparent yellow colour when finished.
- As soon as everything is melted, remove the jar from the heat and stir in the essential oil.
- Pour into silicone molds (or whatever tin/container you want to use) and allow about 30-45 mins to set. Alternatively, speed up this process by placing the bars in the fridge or freezer.

- When completely opaque and cooled, pop the bars out of the silicone mold. Store spares in the fridge or freezer, and keep the one you’re using in a place that is at room temperature or cooler.
***
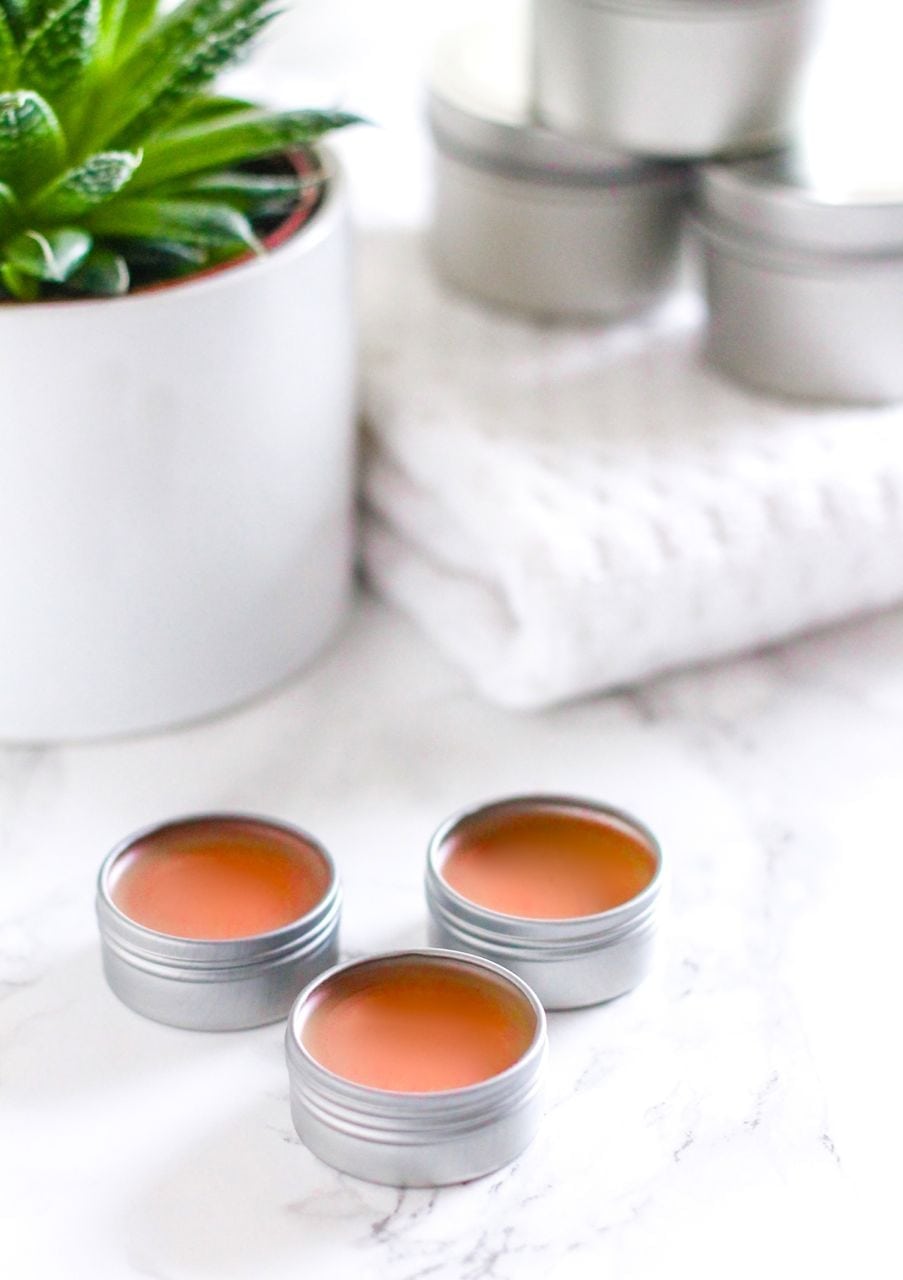
Pink Grapefruit Tinted Lip Balm
Makes: 3 x 0.5oz screw-top tin containers.
Ingredients
- 1 tbsp beeswax pellets (8g)
- 1 tbsp coconut oil
- 1 tbsp + 1 tsp cocoa butter (10g or 6 discs)
- 2 tbsp extra virgin olive oil
- 15 drops pink grapefruit essential oil
- 1/8 tsp pink-coloured mica of choice (for a light tint)
Equipment:
- 3 x 0.5oz screw top containers or lip balm tubes
- a chopstick or disposable tool to stir
- a mason jar + saucepan filled with water, or a double boiler
Instructions
- Heat water in a large saucepan until boiling. (You can use a double boiler instead if you have one.)
- Ensure the inside of the glass jar is completely dry – you don’t want to get any water in there.
- Add all ingredients to the glass jar except for the essential oil and mica.
- Place the jar upright into the saucepan of boiling water.
- Use the chopstick to stir occasionally until all ingredients are melted. The beeswax will take the longest, and the mixture should be a transparent yellow colour when finished.
- As soon as everything is melted, remove the jar from the heat and stir in the essential oil and mica, if using.
- Pour into tins and allow about 10-15 minutes to set.
[Tweet “A clean beauty routine: DIY All-Natural Lotion Bar and Lip Balm #Recipes”]
Now that I’ve started experimenting with these two recipes, I’m dying to make more variations. I’ve got body butters and face masks to play with next, but in the meantime, let’s hear from you. Do you have any favourite homemade skincare recipes? Feel free to leave them or link them in the comments below!
what if yo don’t want a tint would you still have to use mica
Hi Brenda! Nope, you absolutely don’t have to use mica. If you omit it, the lip balms will probably end up solidifying with a pale yellowish colour, but that’s just because the beeswax I used was yellow. None of that colour will transfer to your lips. 🙂
Could I just leave out the beeswax or is it needed to firm the lotion bars?
Hi Alex! Great question – I wondered the same, and judging by the softness of the bars when they come in contact with warm skin, I really do think it’s needed in order to keep them firm. I think you could probably do the lip balms without them and use a combo of butters instead, but for the bars, I’d recommend keeping it in the quantity provided in the recipe. I’d love to hear if you read otherwise though – keep me posted with how you get on!
Hi Ang, you mentioned next time you’d use more essential oils to give it a stronger scent – so the amounts you have in these recipes are what you used this time? Thanks, excited to try these!
Hey Katharyn! Great to hear from you. I adjusted the recipes above to what I’d use next time in order to make the scent stronger than mine turned out. I figure that would be enough to make them more fragrant, but haven’t tried again since. Let me know if you give them a shot and how they turn out!
I tried the bars this weekend, they’re really nice! I think the oil amounts are pretty good, although I used “wild orange” because that’s what I have. I might try just a little more fragrance to see how that compares, it’s a light scent so just depends what you’re looking for. Thanks for the great recipe!
Where do you buy the beeswax pellets and cocoa butter discs? Thanks
Hi Adria! I got both at Whole Foods, but you can also buy cocoa butter in a pot rather than discs. If you can’t find the beeswax locally, I’d recommend a quality organic cosmetic grade one from Amazon. I don’t have this specific brand, but it looks very similar to what I purchased at Whole Foods. Hope that helps!